The new Cedar Valley end joints have switched.
Because we have switched to an all 1-course line, the overlapping end joints have switched directions. We are labeling every pallet and marking every panel with the “New” stamped across the back. But if you get new and old style on the same job, there are simple ways to use them together.
The easiest way is complete all partial rows with the old style. Then switch to the new style when starting a new row. If you still have old style panels left, save them. There are areas where both factory end joints need to be removed. Examples are gables or dormers, between trim and windows, windows and corners, chimneys or narrow walls. All other design features remain the same as our old panels. They are still stackable with two scribed “nail zone” lines for the installer. The concealed nailing is the same and the overlap is identical. Additionally, with two beads of adhesive you no longer need to re-staple the tops of cut panels under windows & eves or on diagonal cuts of dormers and gables.
.
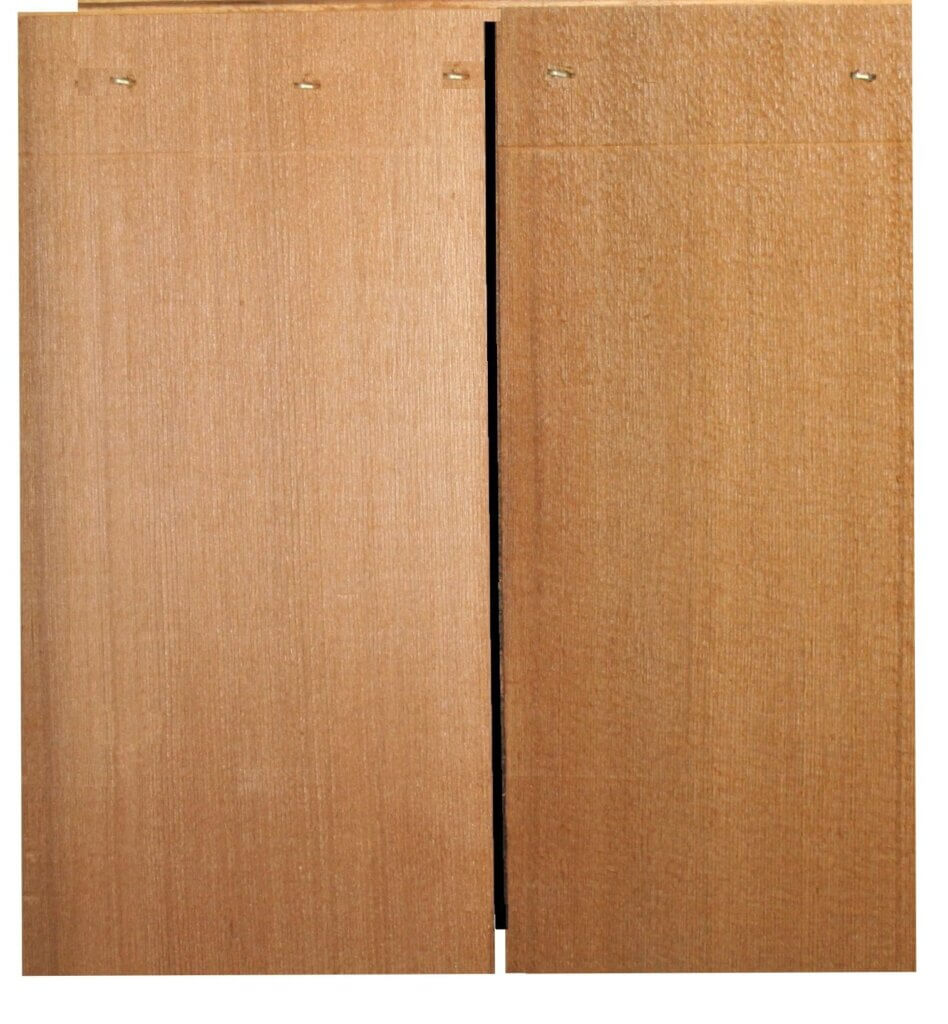
New Right side Endjoint Style
(The short shingle is now on the right)
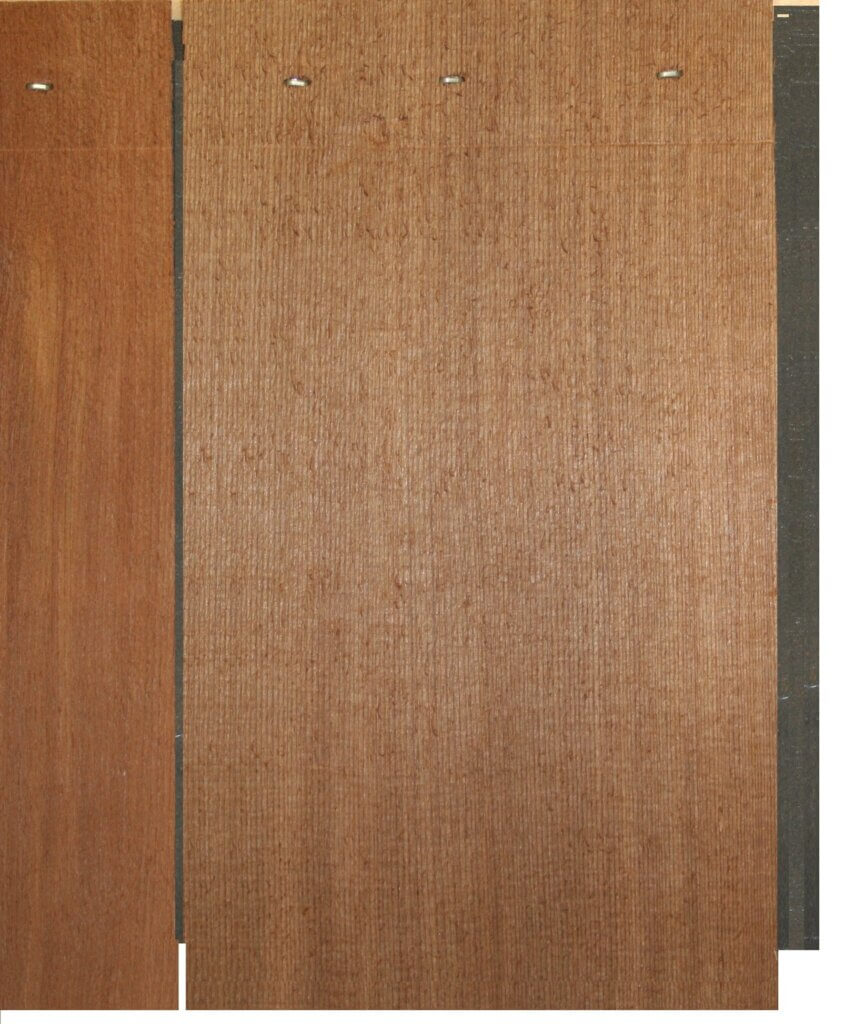
New Left side Endjoint Style
(The long shingle is now on the left side)